
1. 建議使用Firefox, 在本機(Localhost)作示範安裝.
版本: 4.1.2(3)
平台: Windows 7 64bit
伺服器工具: AMPPS (PHP + MySQL)
資料夾: openemr41c
如選擇伺服器工具XAMPP到以下網址查看安裝方法.
http://www.open-emr.org/wiki/index.php/OpenEMR_4.1.2_Windows_Installation
選擇安裝在虛擬機器運行.(版本: 4.1.1)
http://www.open-emr.org/wiki/index.php/OpenEMR_4.1.1_Virtual_Appliance
檔案下載
http://sourceforge.net/projects/openemr/files/OpenEMR%20Virtual%20Appliance/4.1.1/
也可到以下網址作試用.
http://www.bradymd.com/appliance/demos.shtml
OpenEMR使用手冊
http://www.open-emr.org/wiki/index.php/OpenEMR_4.1.2_Users_Guide
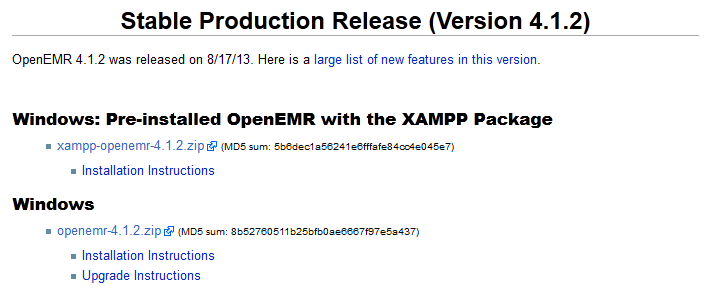
2. 到以下網址下載系統, 選擇 openemr-4.1.2.zip
http://www.open-emr.org/wiki/index.php/OpenEMR_Downloads
3. 解壓檔案到 X:\Ampps\www\openemr41c

3a. 附加工具 (待續)
Tar
http://pear.php.net/package/Archive_Tar/download
\interface\main\Archive
Pear
http://pear.php.net/package/PEAR/download
4. 輸入本機網址, 開始安裝, 檢查環境狀態
http://localhost/openemr41c/
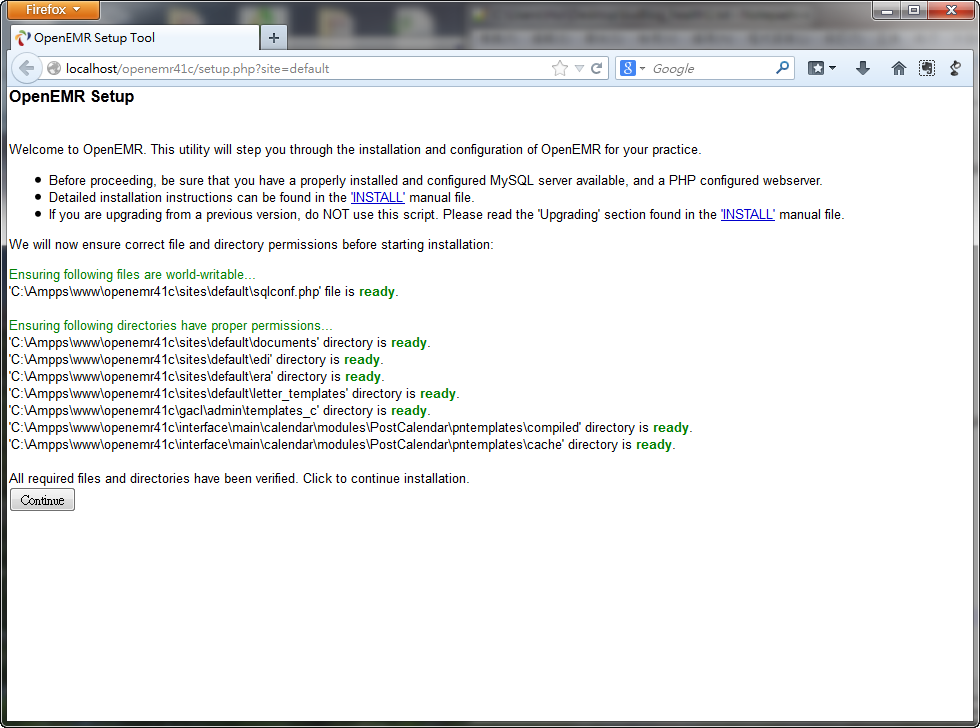
按 Continue
5. 資料庫設定
Step 1
可以選擇
Have setup create the database (建立資料庫)
I have already created the database (已建立資料庫)
選擇
Have setup create the database (建立資料庫)
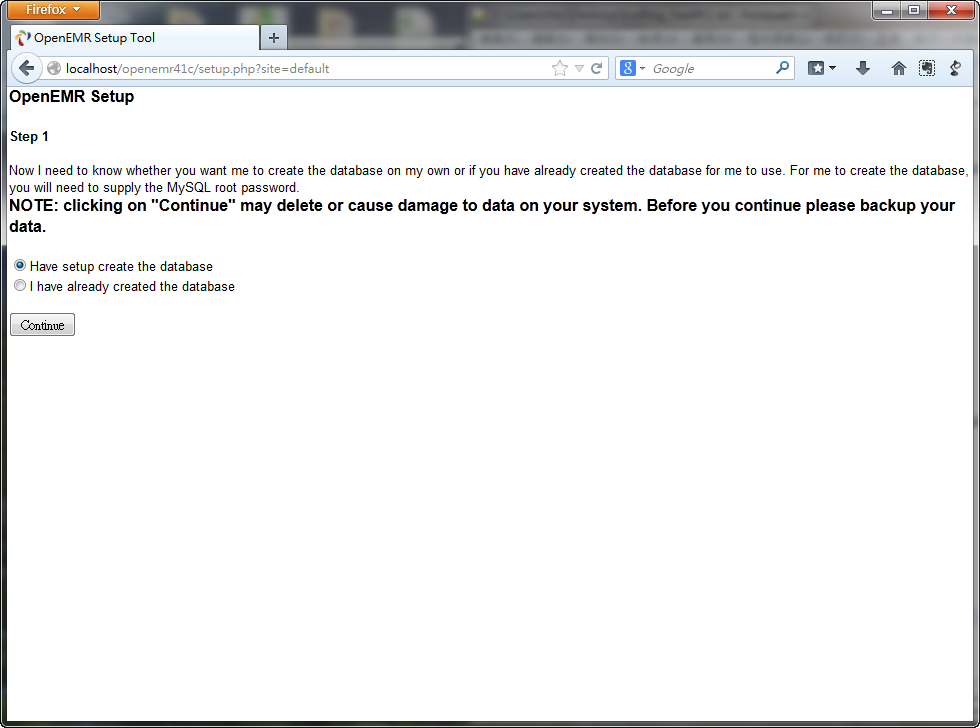
按 Continue
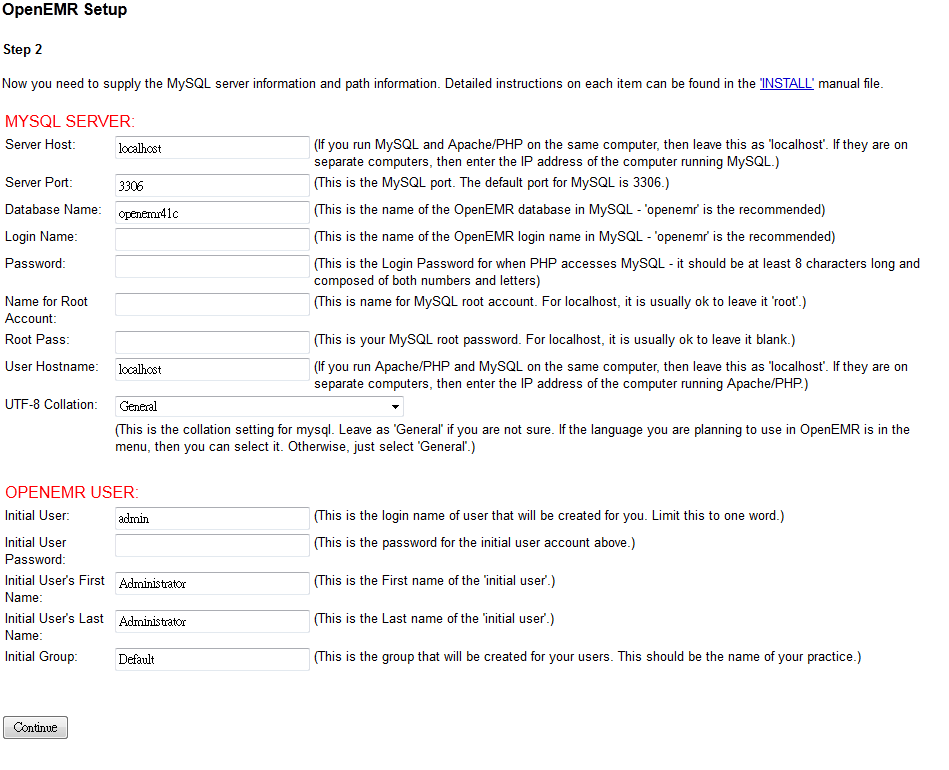
Step 2
填入相關資料, 按 Continue
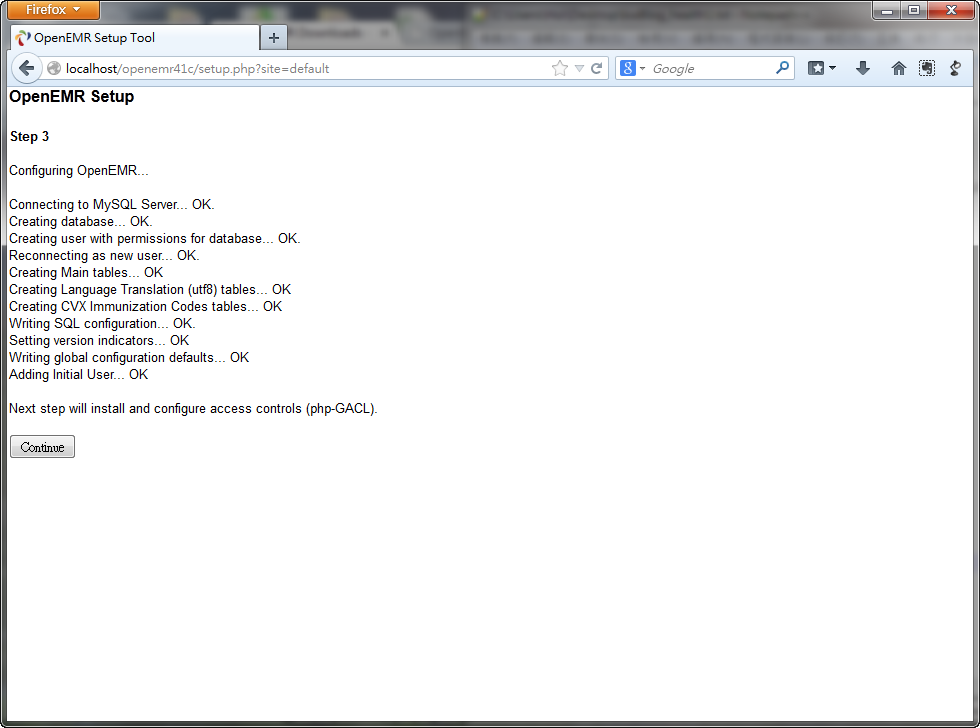
Step 3
資料庫安裝完成, 按 Continue
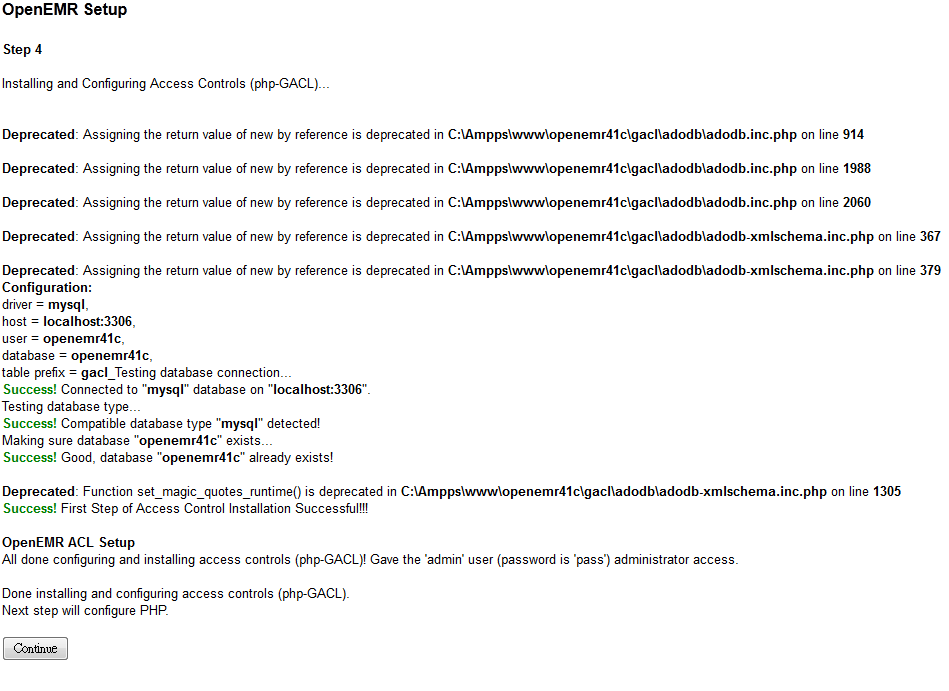
Step 4
相關安裝資料, 按 Continue
Step 5
PHP設定
X:\Ampps\apache\php.ini
X:\Ampps\conf\php-5.3.ini(AMPPS預設版本)
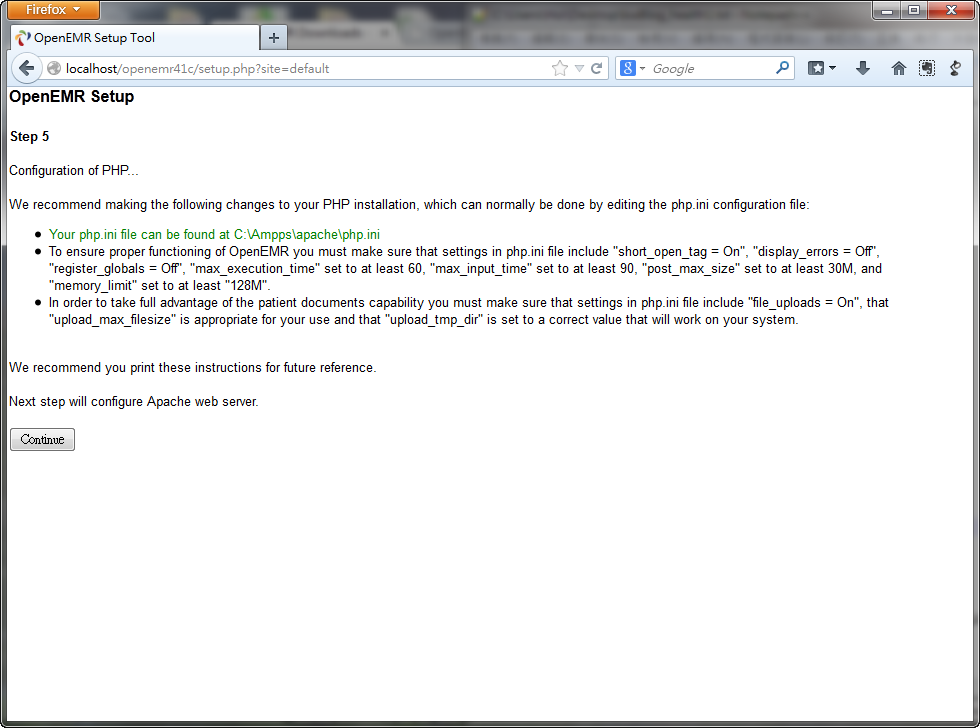
詳細可到以下網址查看
http://www.open-emr.org/wiki/index.php/FAQ#What_are_the_correct_PHP_settings_.28can_be_found_in_the_php.ini_file.29.3F
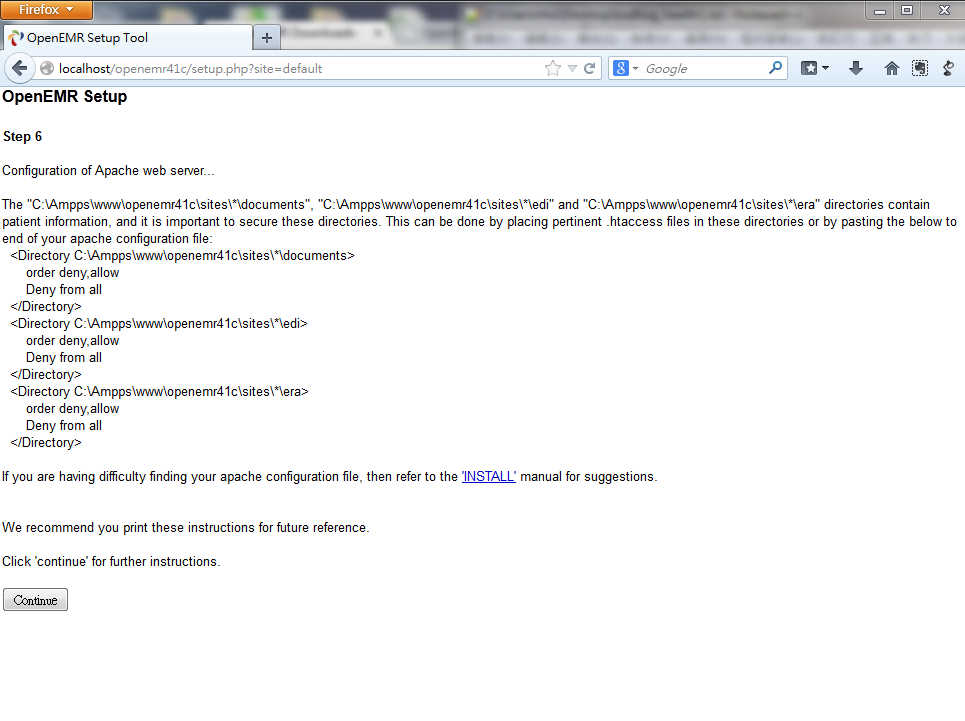
Step 6
環境設定, 按 Continue
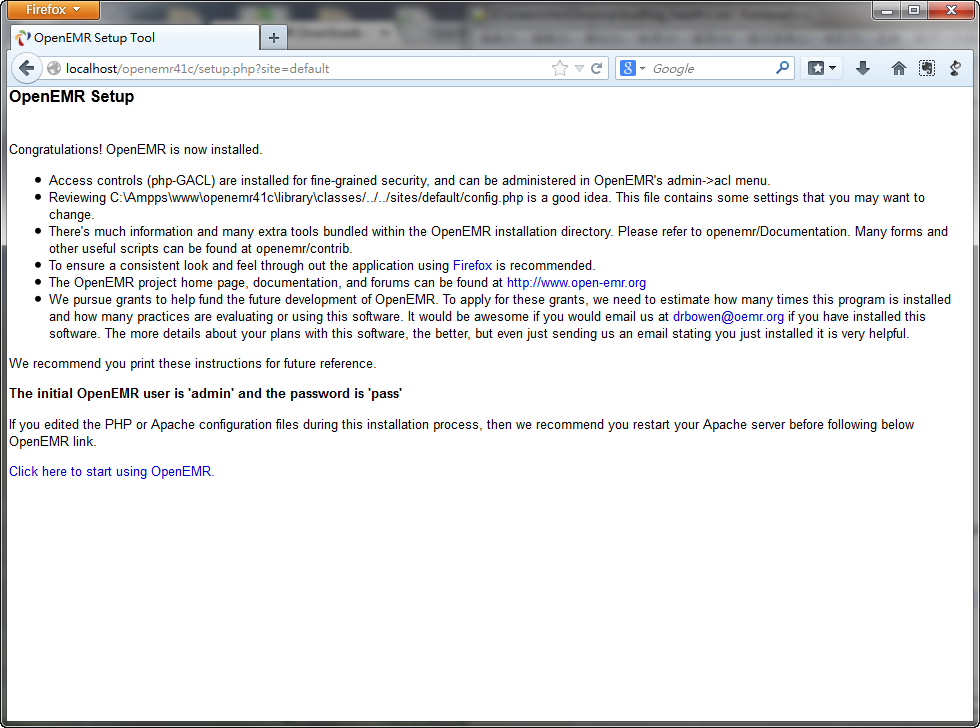
6.安裝完成, 按 Click here to start using OpenEMR
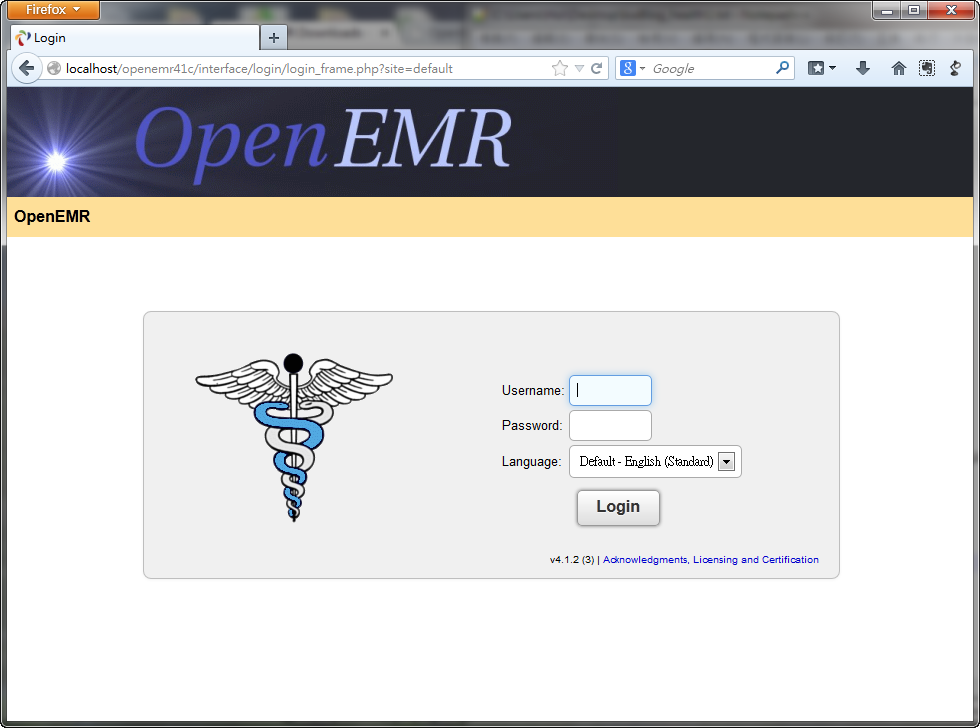
7. 系統首頁, 登入帳戶
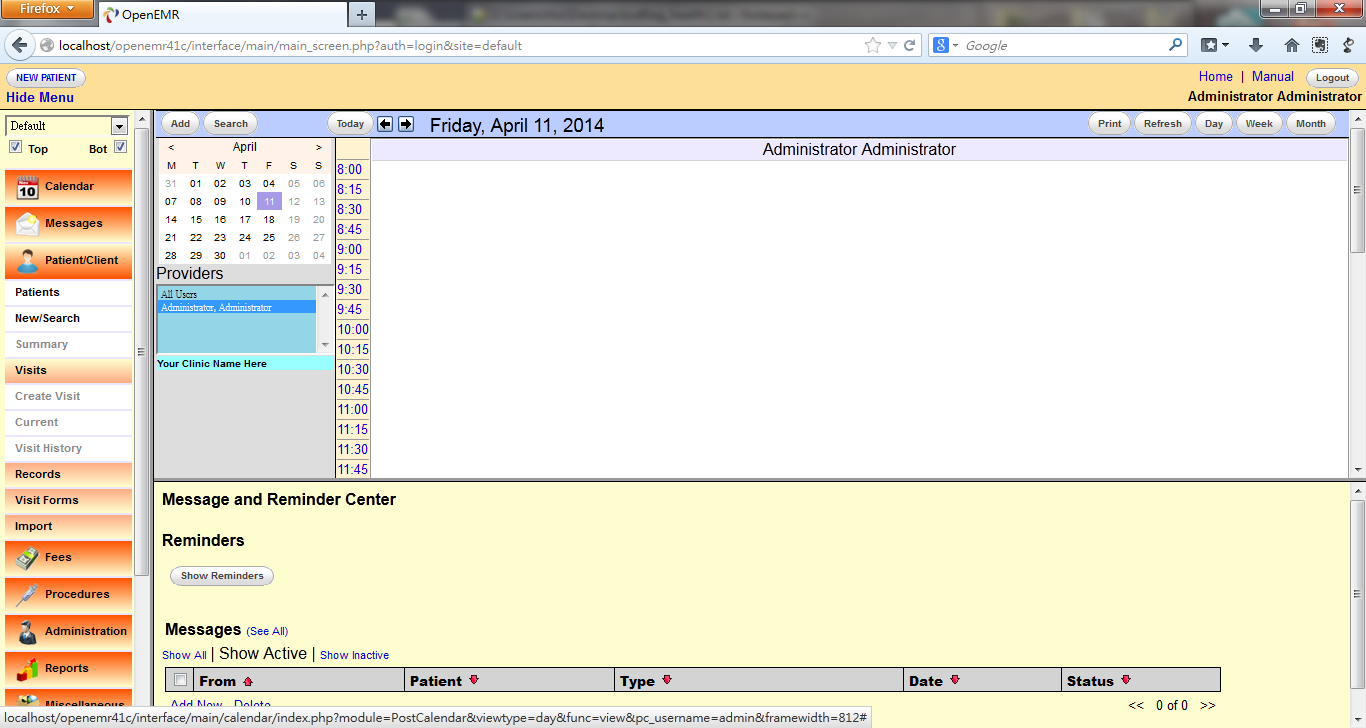
8. OpenEMR 介面
9. 按登出(右上角)
![]()
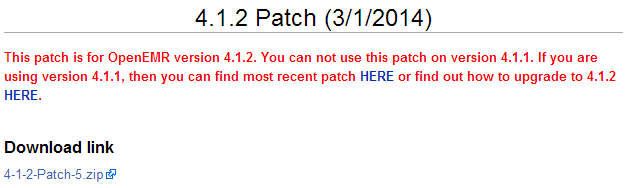
10. 更新版本
目前版本4.1.2(3), 為保障系統安全, 定期查看更新檔案, 最新版本4.1.2(5).
![]()
到以下網址, 下載 4-1-2-Patch-5.zip
http://www.open-emr.org/wiki/index.php/OpenEMR_Patches
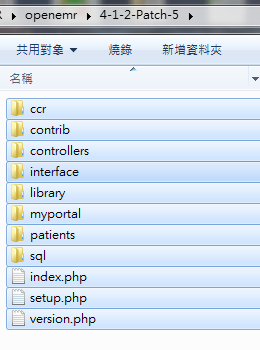
解壓檔案, 複製所有檔案到 X:\Ampps\www\openemr41c
回到Firefox, 輸入以下網址,更新資料庫
http://localhost/openemr41c/sql_patch.php
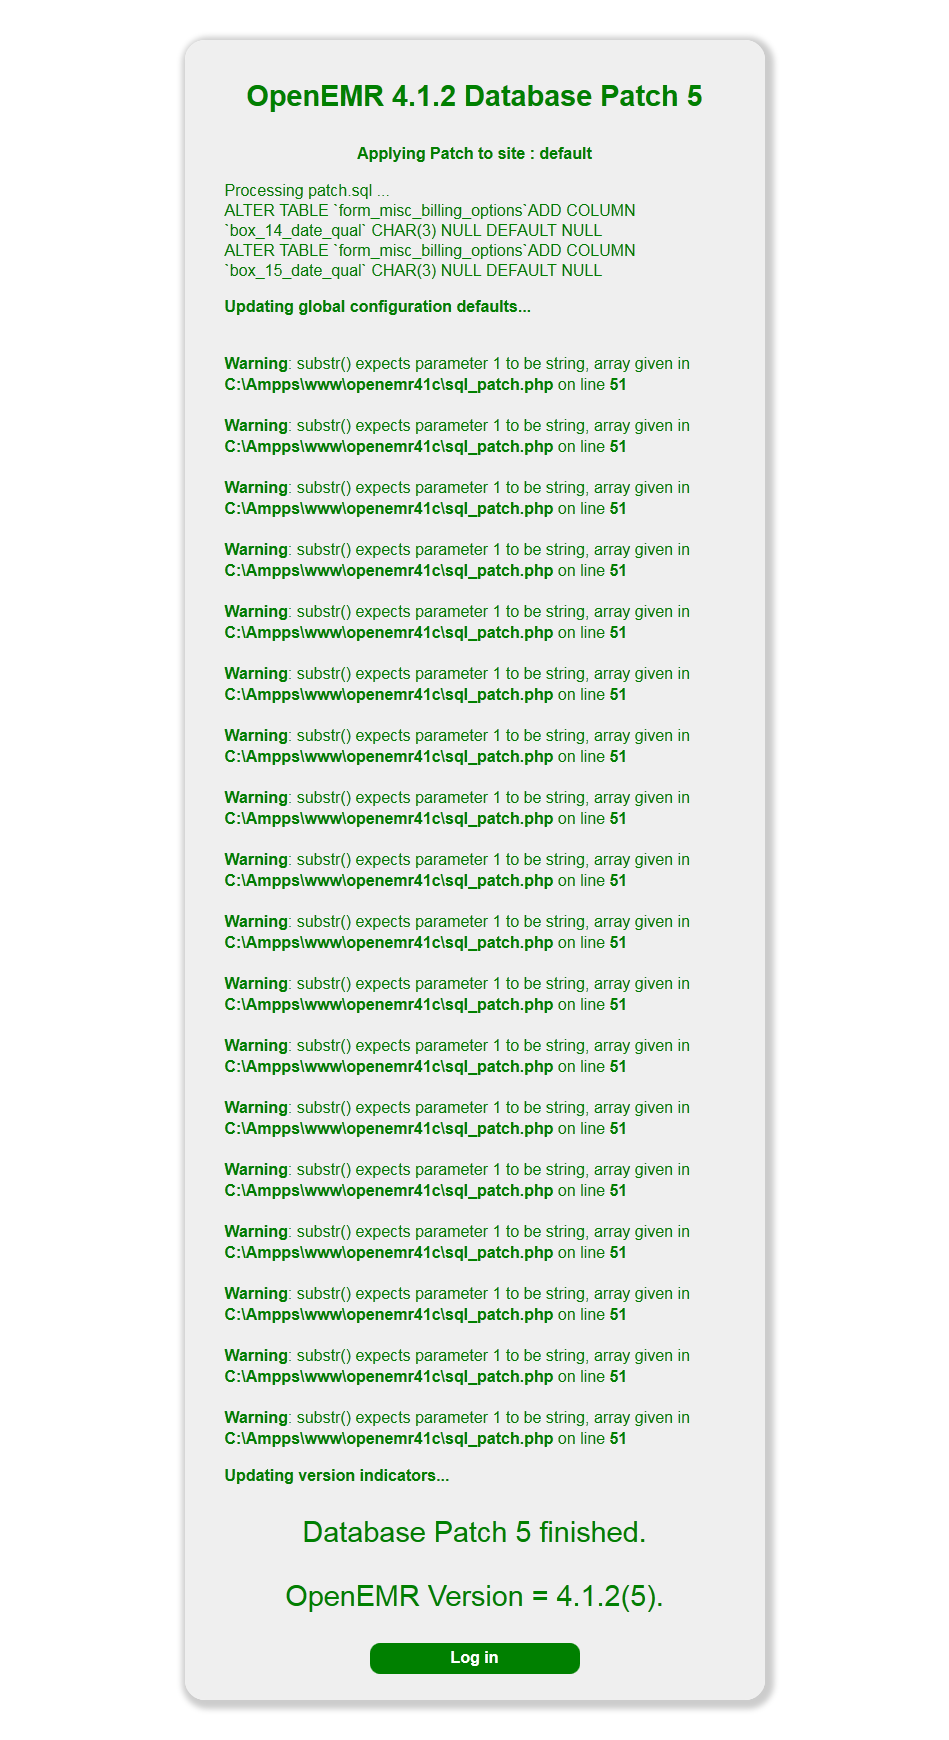
資料庫更新完成, 按 Log in
詳細可到以下網址查看
http://www.open-emr.org/wiki/index.php/OpenEMR_Patches#Installation_instructions
11.系統首頁, 查看有否更新版本
![]()