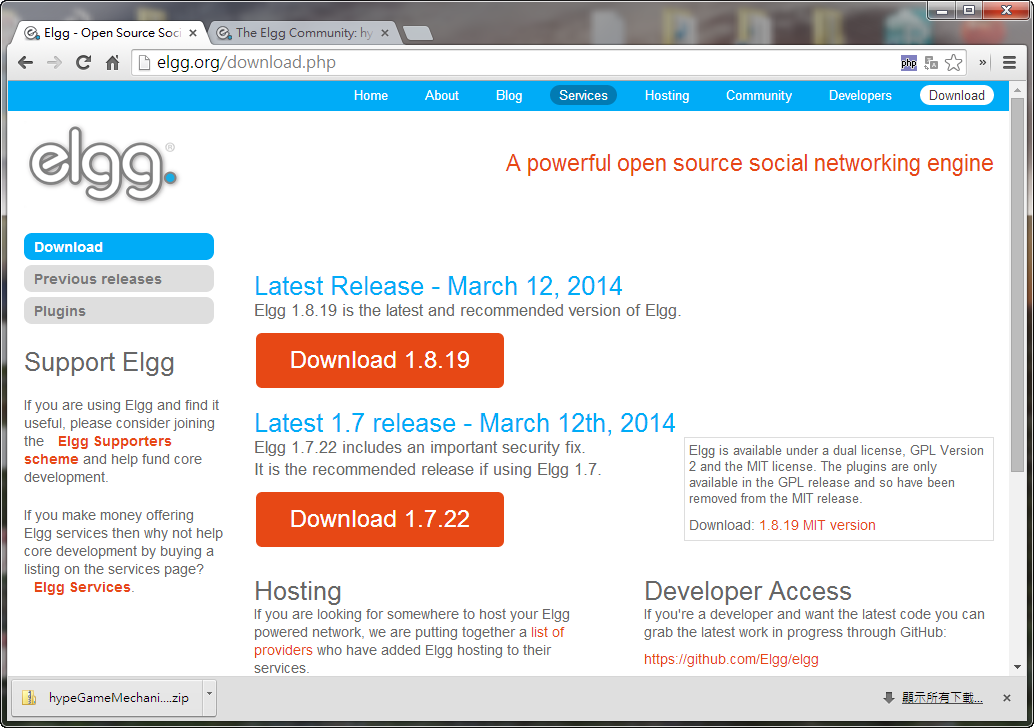
繁體中文Traditional Chinese Lauguage Pack for V1.8/V1.8.1 (plus V1.7 & V1.7.1 version) for Elgg 1.8
http://community.elgg.org/plugins/487207/1.8.1/%E7%B9%81%E9%AB%94%E4%B8%AD%E6%96%87traditional-chinese-lauguage-pack-for-v18v181-plus-v17-v171-version
請到以下網址, 下載遊戲化(Gamification)相關模組
hypeFramework 1.8 for Elgg 1.8
http://community.elgg.org/plugins/798954/1.8.5/hypeframework-18
http://www.hypeframework.org/
hypeGameMechanics for Elgg 1.8
http://community.elgg.org/plugins/837519/1.8.5/hypegamemechanics-18
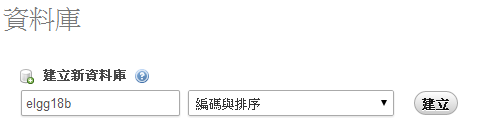
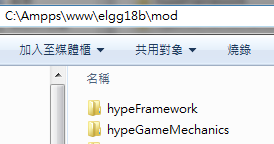
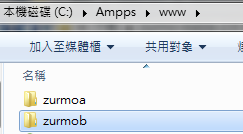
解壓檔案到 C:\Ampps\www\elgg18b\mod
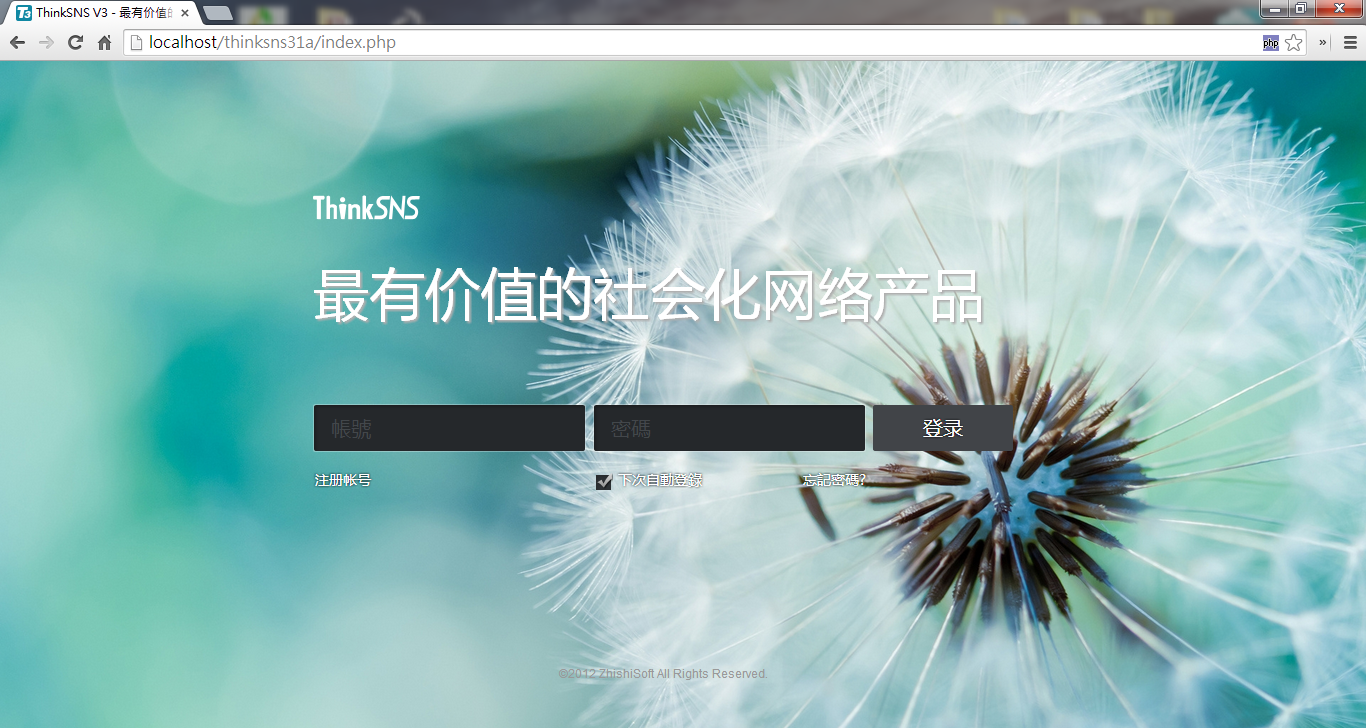
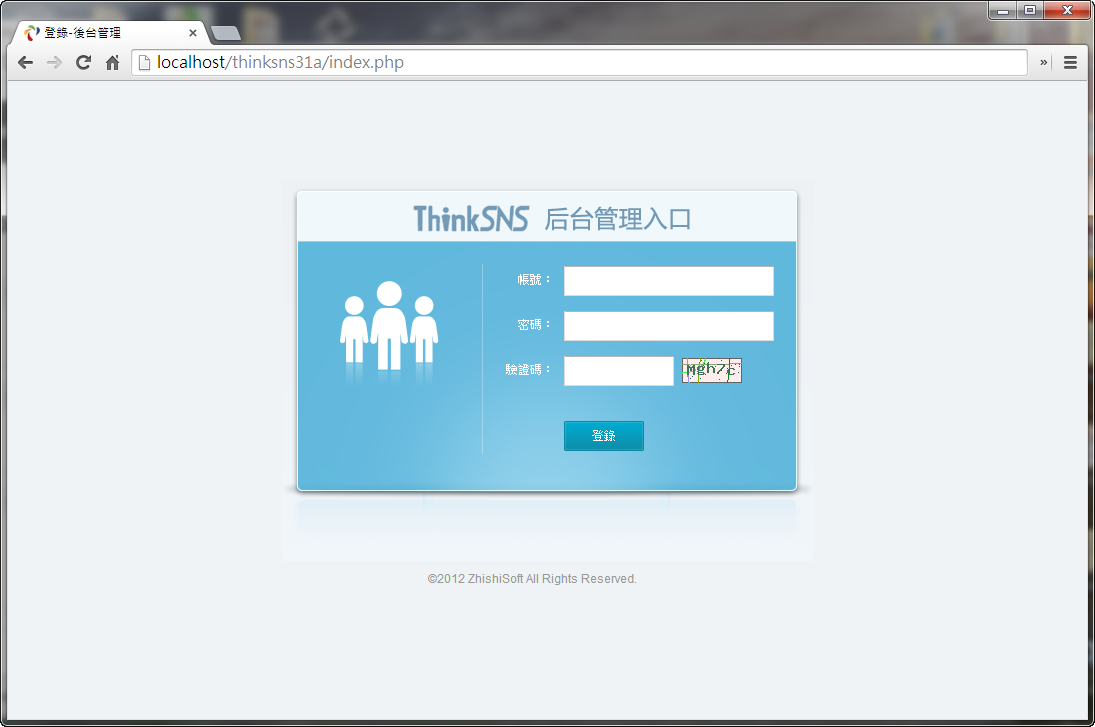
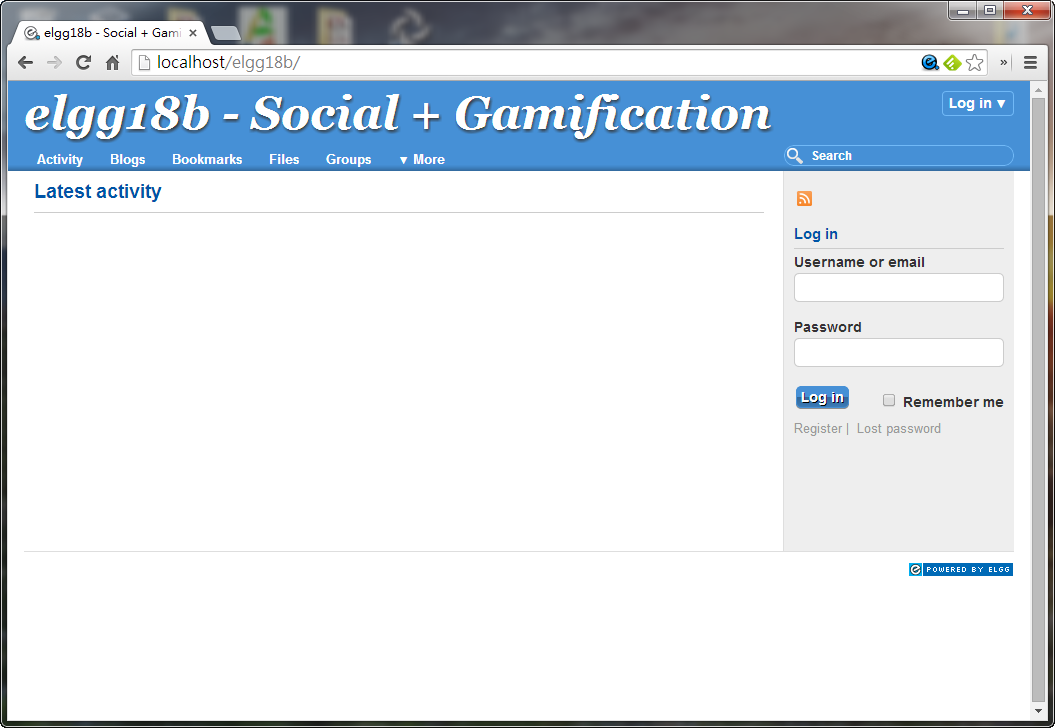
以管理者身份登入 elgg18b 系統
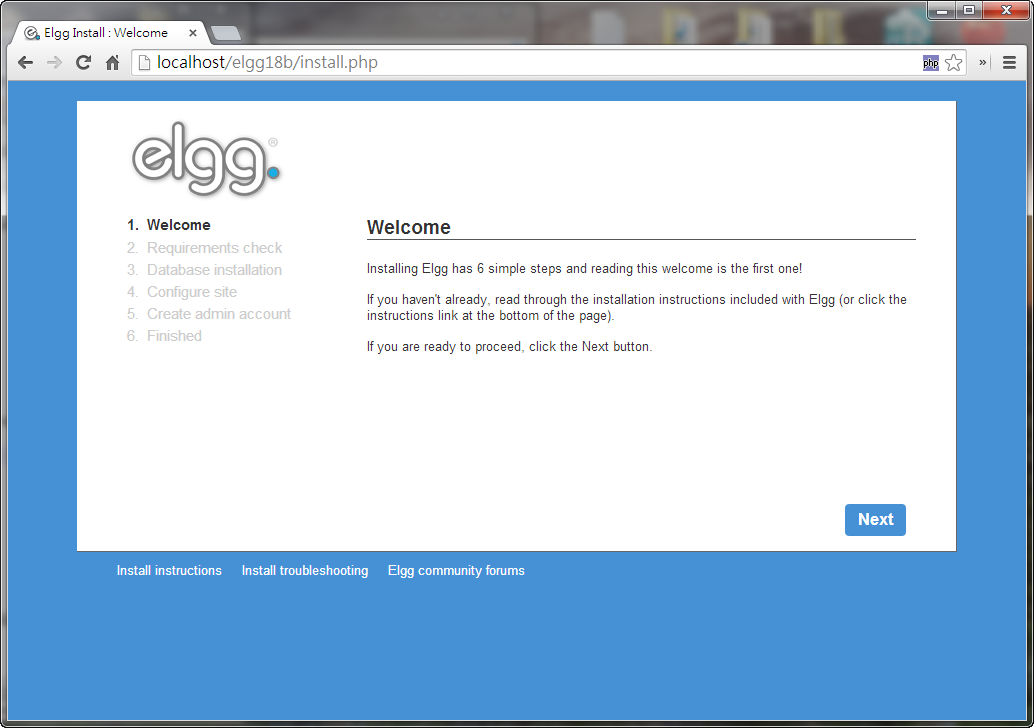
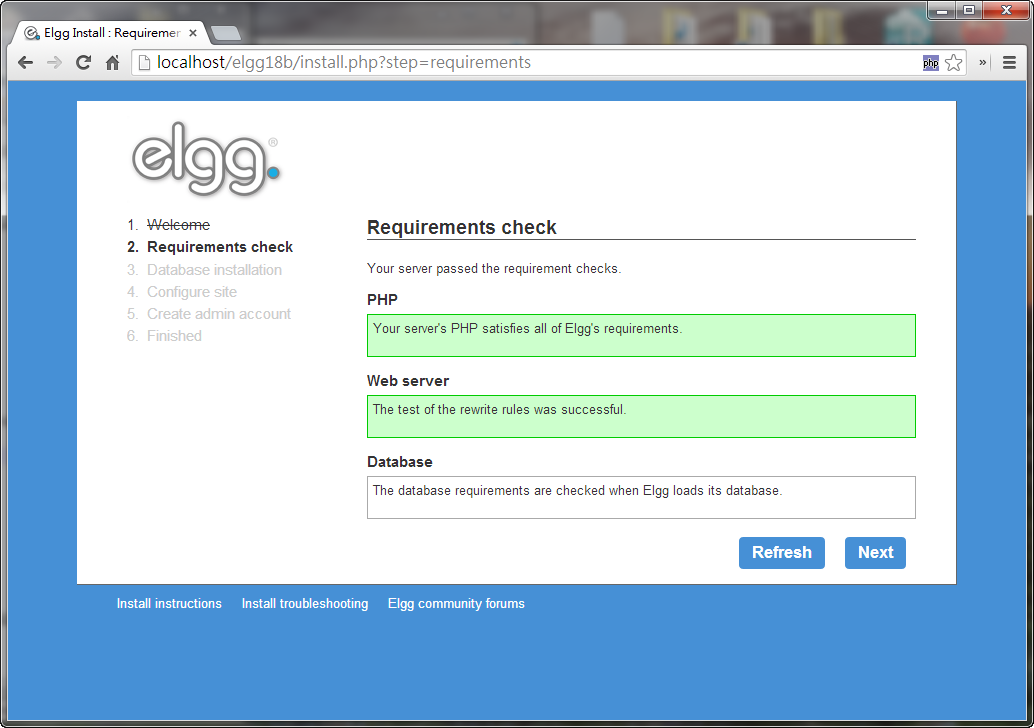
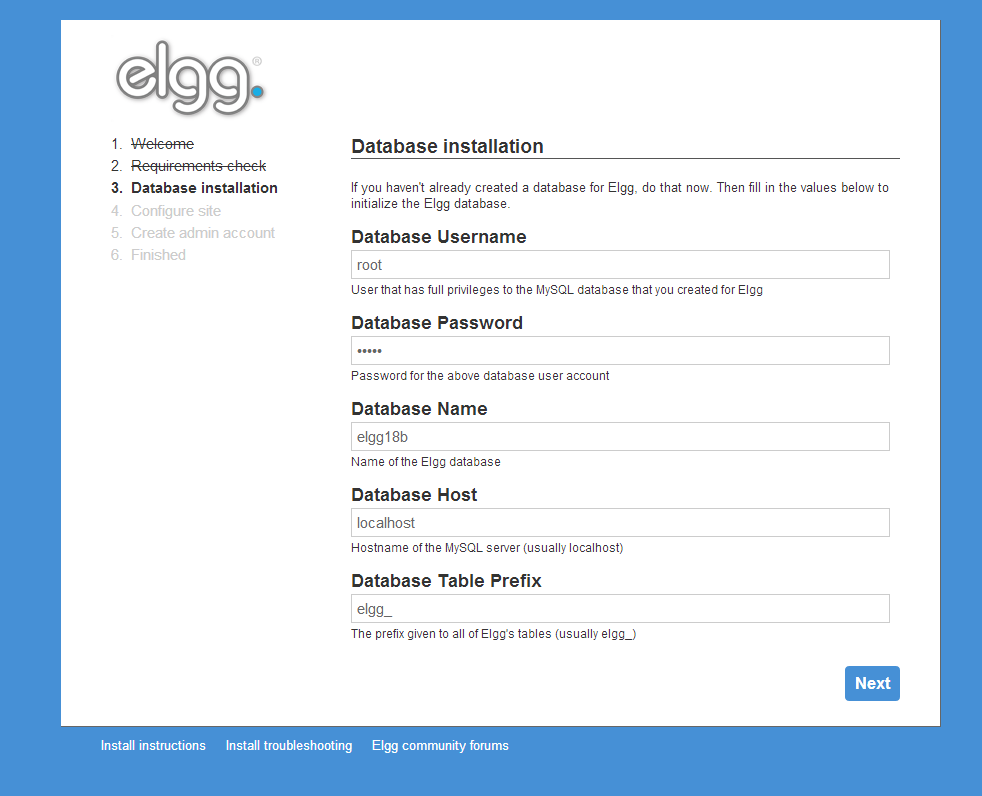
http://localhost/elgg18b/
進入 Administration (右上角)
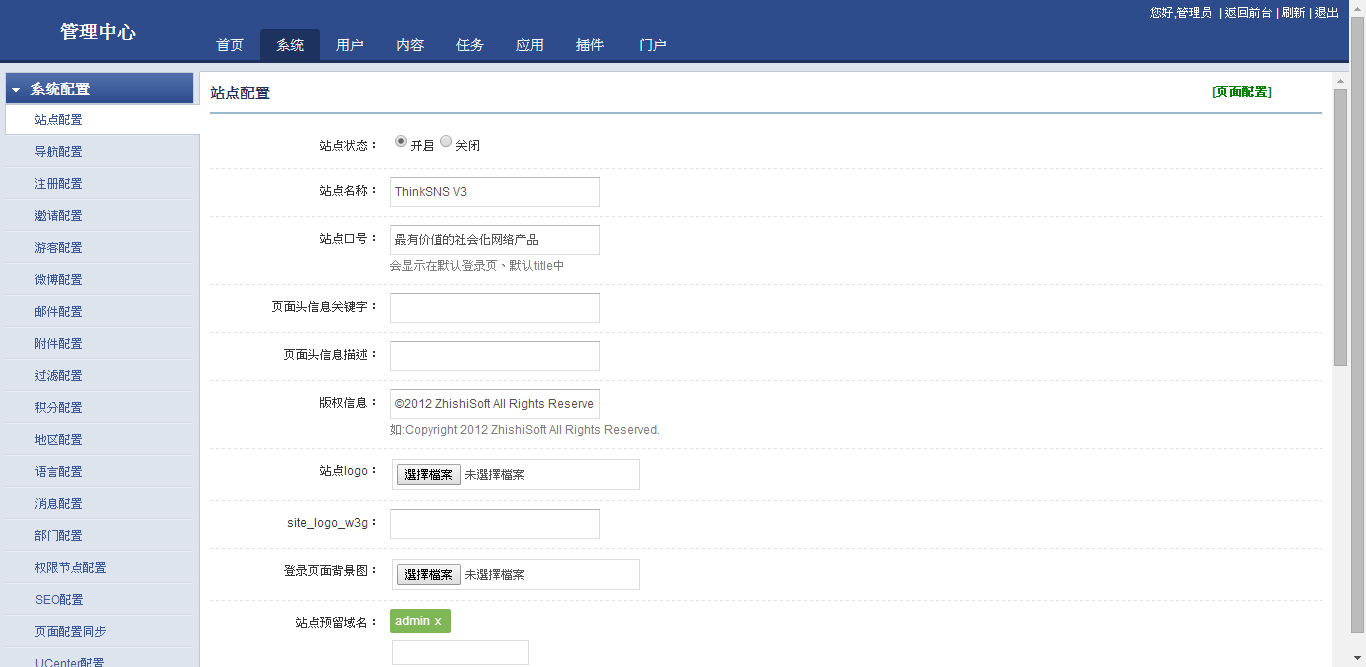
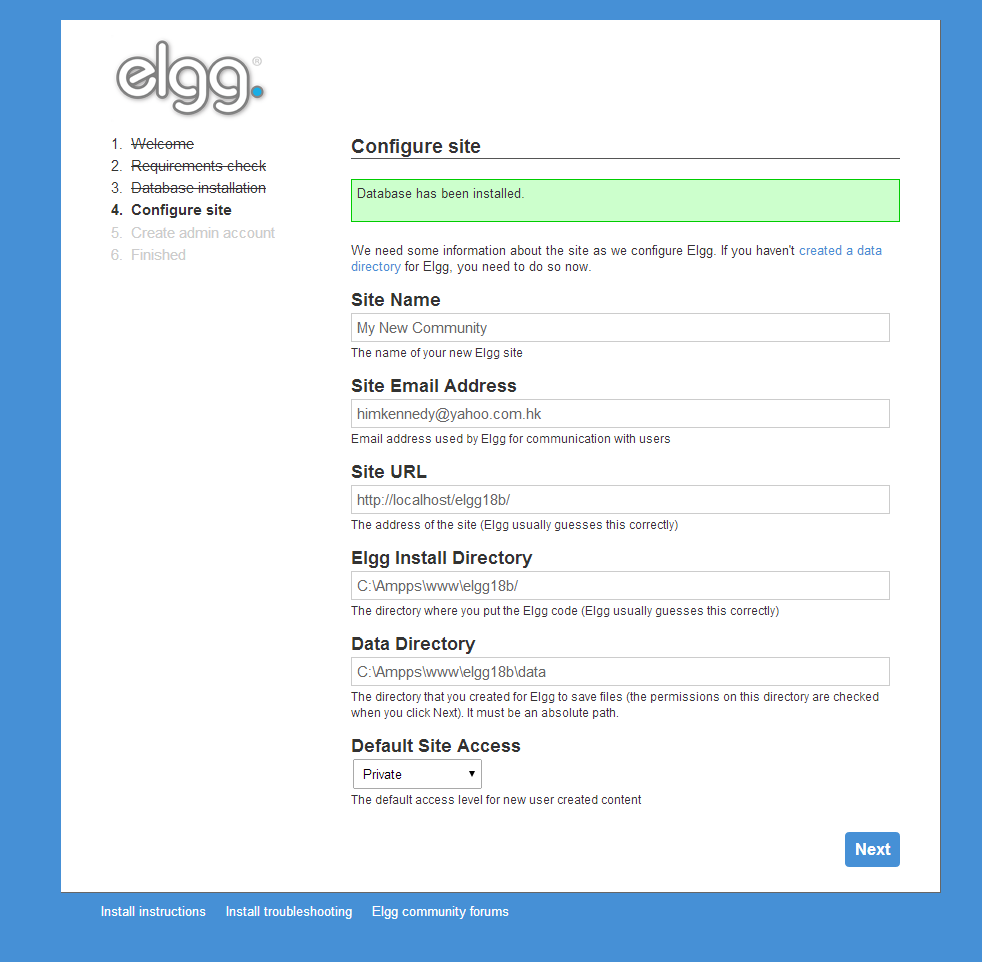
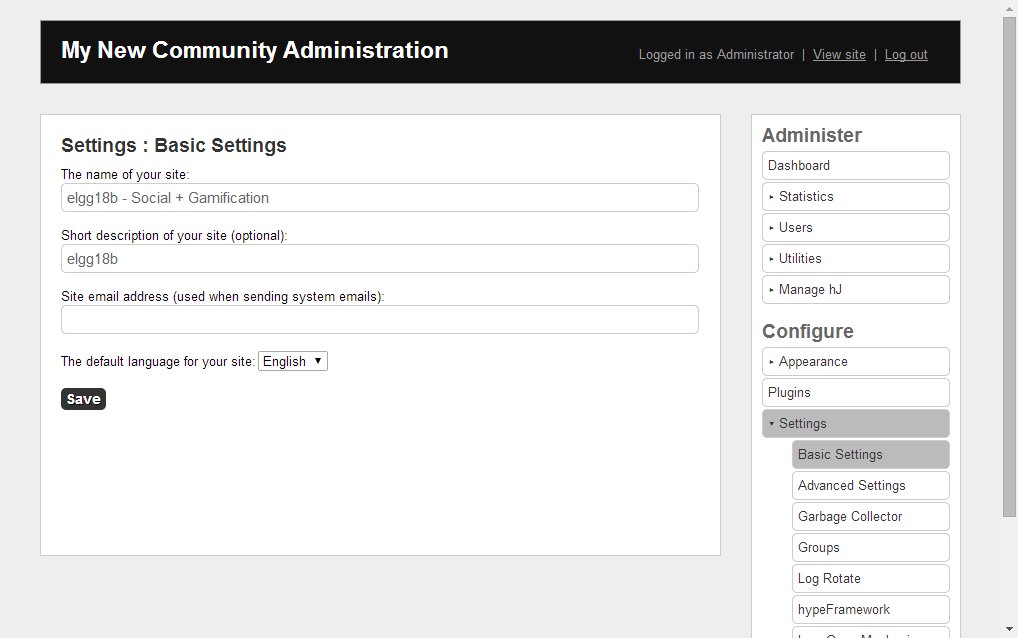
選擇 Settings -> Basic Settings
查閱和修改相關設定
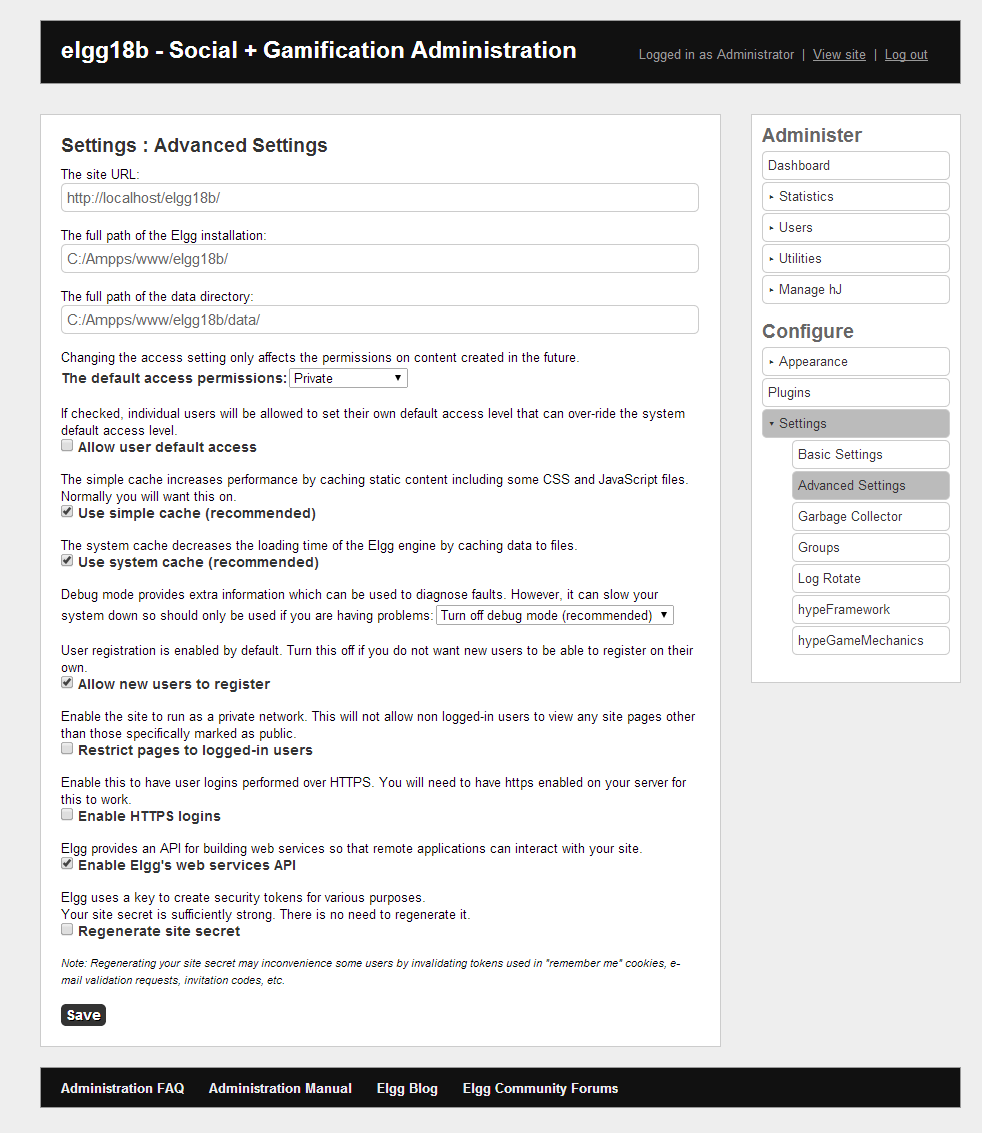
選擇 Settings -> Advanced Settings
查閱和修改相關設定
關閉公開註冊 (按所需選擇)
不剔選”Allow new users to register”
預設使用者新增內容權限 (按所需選擇)
The default access permissions: Public / Friends / Logged in users / Private
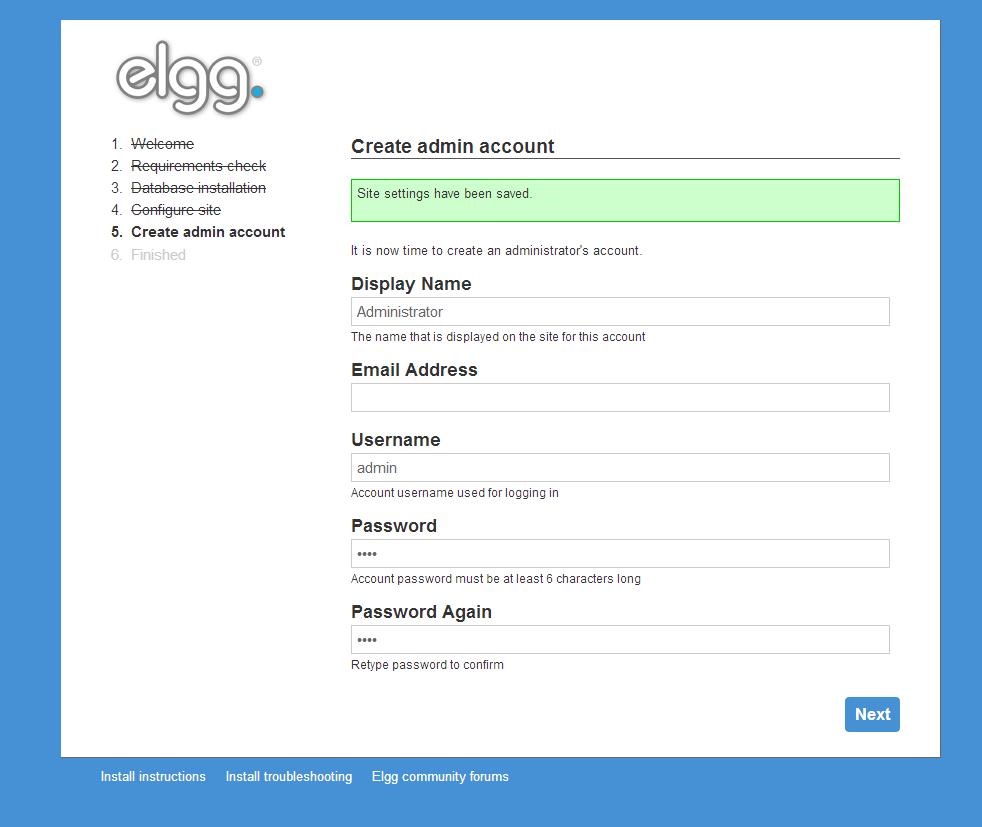
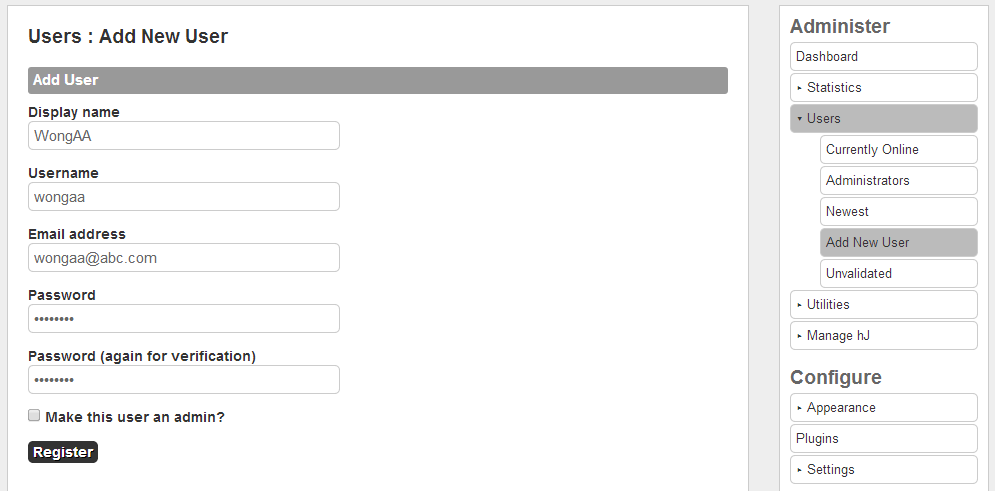
新增使用者 (按所需選擇)
選擇 Administer -> Users -> Add New User
設定使用者資料
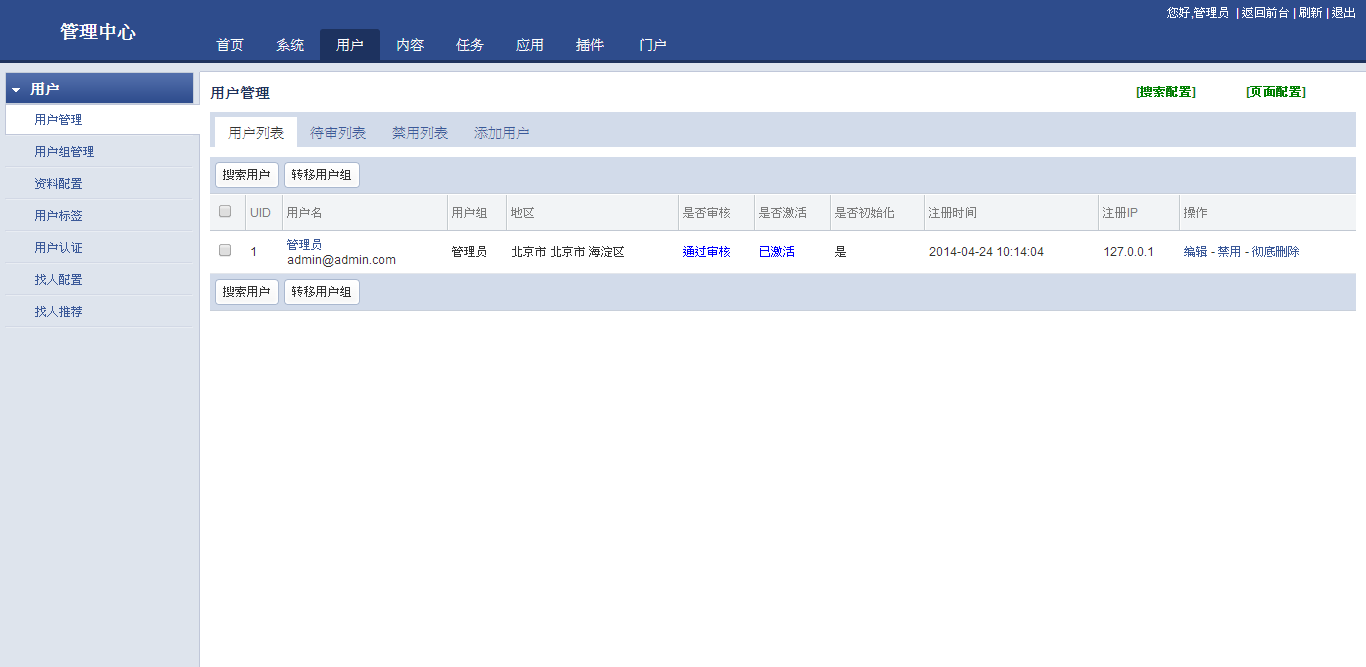
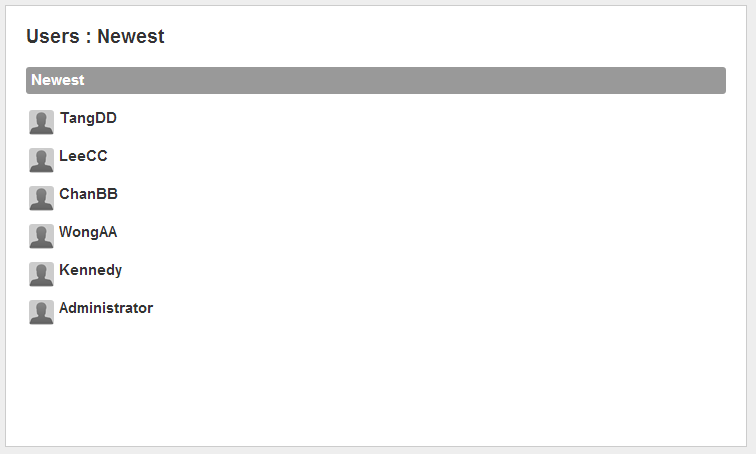
使用者列表
選擇 Administer -> Users -> Newest
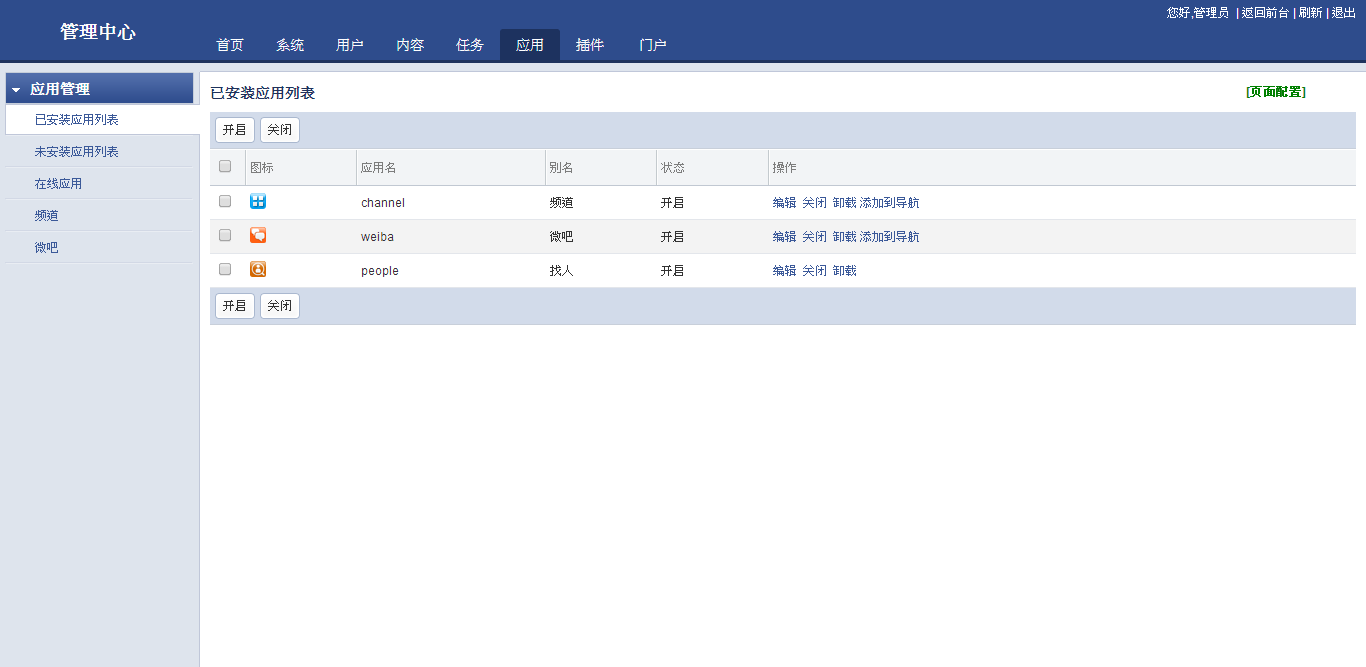
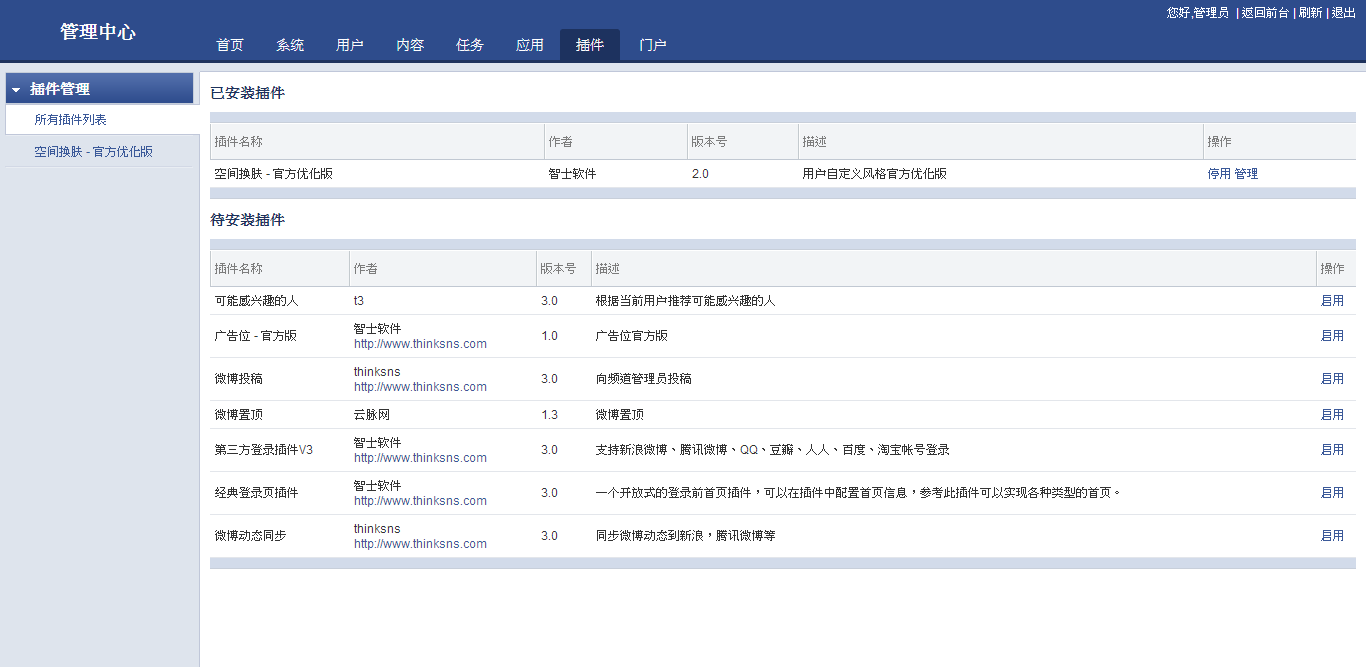
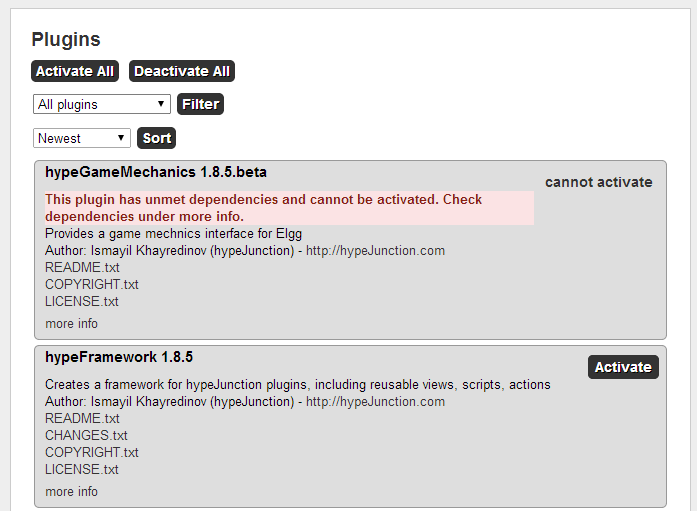
進入 Administration, 選擇 Plugins
選擇 Newest, 按 Sort
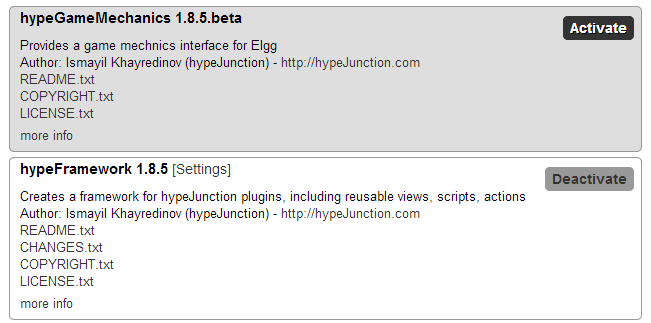
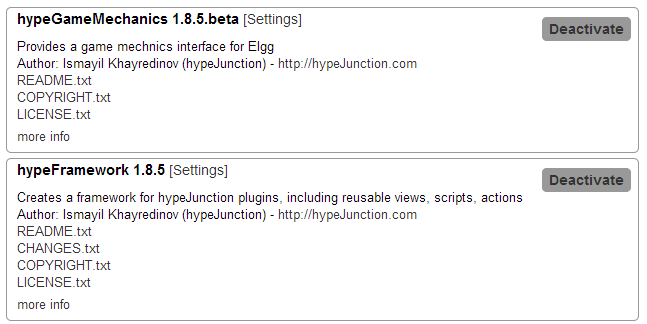
首先 hypeFramework, 按Activate
之後 hypeGameMechanics, 按Activate
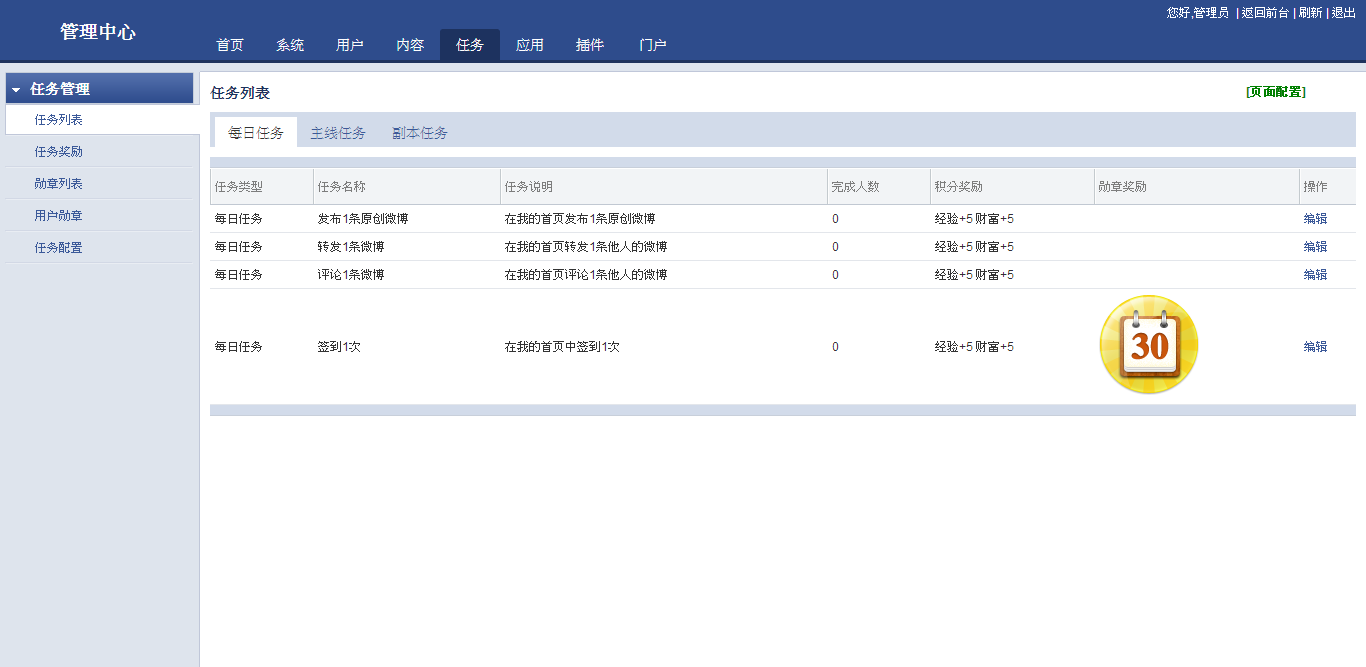
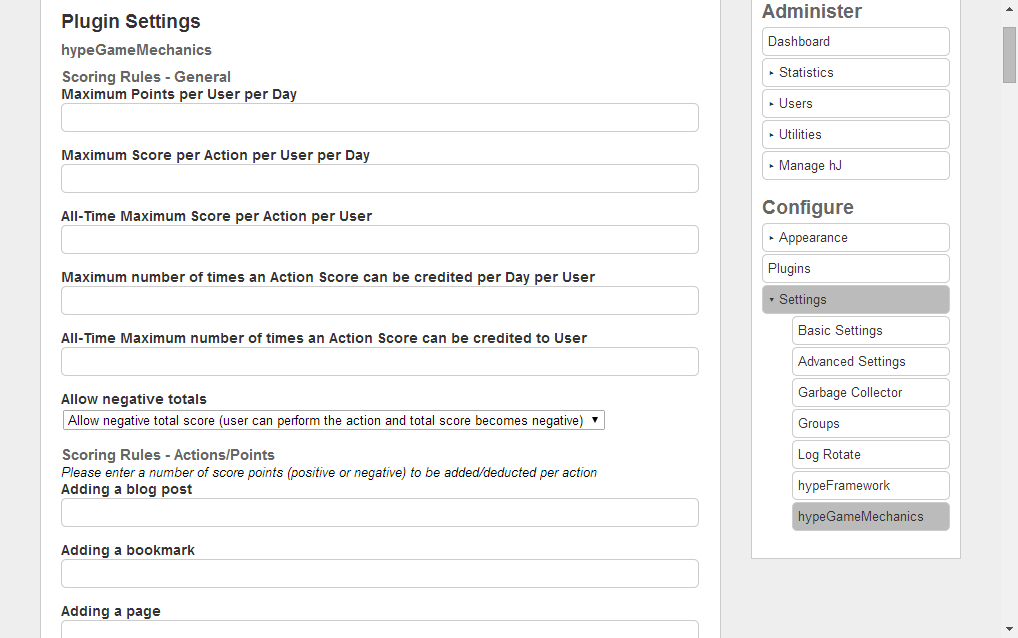
進入 Settings
出現一頁很長…很長的表格,
這裡設定使用者做什麼動作, 就可得到多少分數.
設定完成後, 按 Save
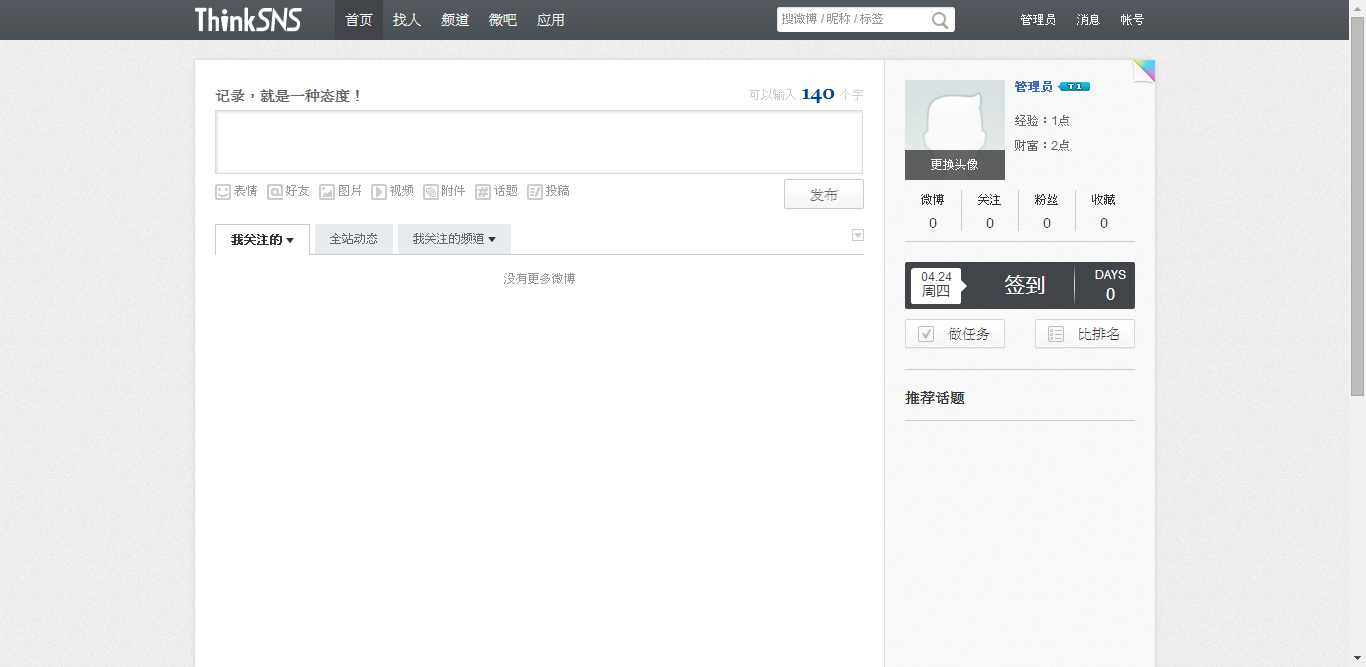
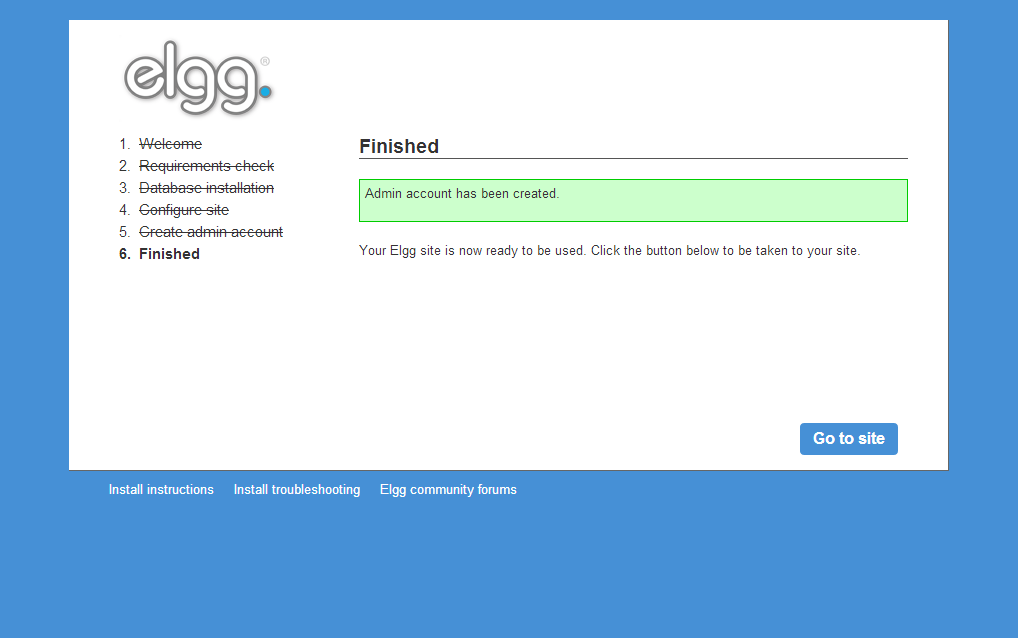
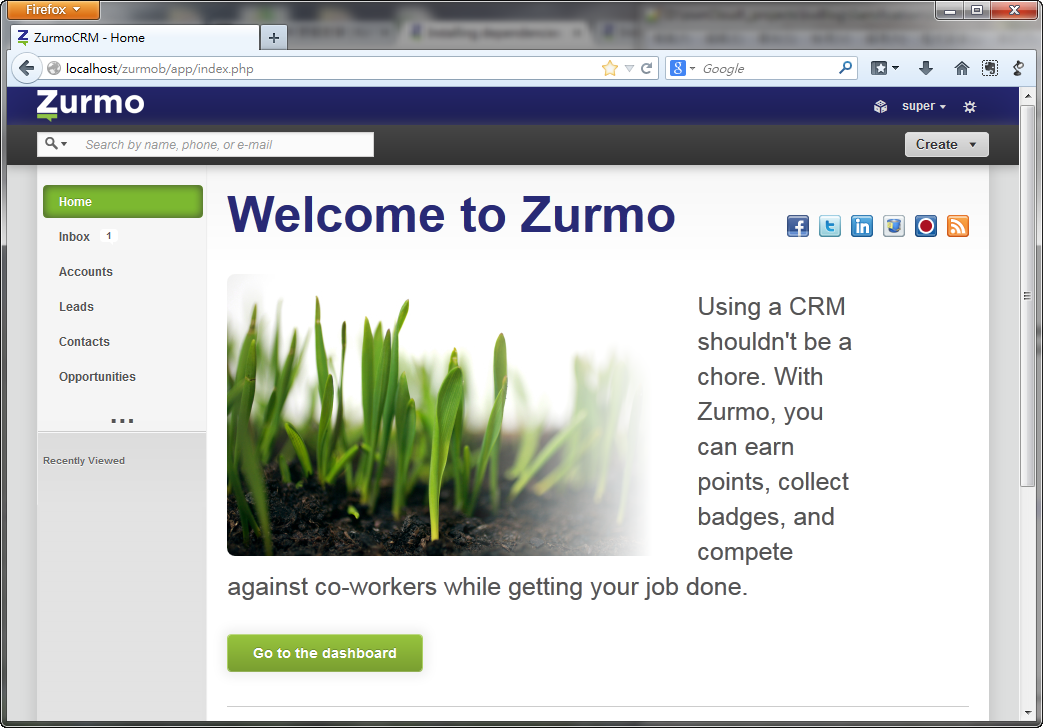
進入 View Site
進入 Profile, 顯示使用者相關資料
進入 Badges, 設定獎章(Badges)
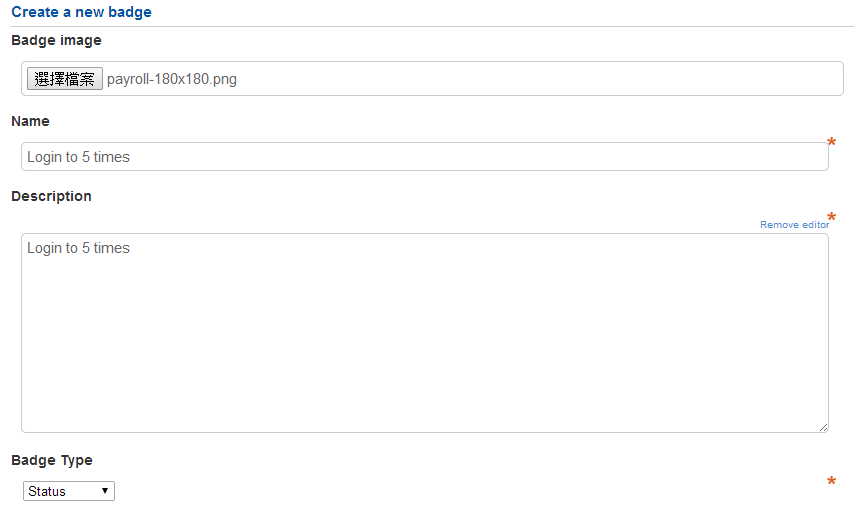
按 Create a new badge
獎章圖案 Badge image:
獎章名稱 Name:
獎章描述 Description:
獎章類型 Badge Type: Status / Experience / For Sale / Surprise
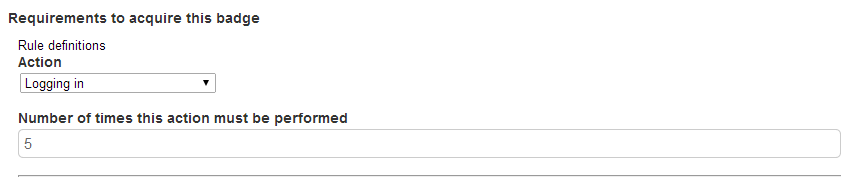
設定使用者取得獎章條件, 完成後按 Submit
—-
Requirements to acquire this badge
Rule definitions
Action
Number of times this action must be performed
—
Availability (Access Level): Public / Friends / Logged in users / Private
定義:
遊戲化是在非遊戲環境中加入遊戲元素和遊戲設計技術的應用.
Gamification is the use of game elements and game design techniques in non-game contexts.
六個「遊戲化」的步驟
定義企業目標。(Define business objectives.)
描寫希望的行為。(Delineate target behaviors.)
了解、描述玩家。(Describe your players.)
設計遊戲回饋、鼓勵機制。(Devise your activity loops.)
別忘了本質上的樂趣。(Don’t forget the fun.)
使用適當的工具。(Deploy the appropriate tools.)
關鍵字
game elements
game design techniques
non-game contexts
Point, Badge, Leaderboard
應用例子
NIKE+
https://secure-nikeplus.nike.com/plus/
Zombies, Run! 2
https://www.zombiesrungame.com/
http://www.thefuntheory.com/
The Fun Theory 樂趣理論 _世上最深的垃圾桶 (中文翻譯)
– https://www.youtube.com/watch?v=mHttAo2Ecm0
The fun theory 樂趣理論_鋼琴樓梯 (中文翻譯)
– https://www.youtube.com/watch?v=J49YtdxqN58
學習資料
Coursera Gamification
Kevin Werbach, Associate Professor , Legal Studies, University of Pennsylvania
https://www.coursera.org/course/gamification
Gamification Design
by Victor Manrique, Isidro Rodrigo, Dr. Oscar Garcia-Panella, emiliano labrador, Montecarlo -, Andrzej Marczewski, Dr. Flavio Escribano, and Cristina Pagés
https://iversity.org/courses/gamification-design
參考資料
Bunchball
http://www.bunchball.com/
Badgeville
http://badgeville.com/
BigDoor
http://bigdoor.com/
Foursquare
https://foursquare.com/
For The Win: How Game Thinking Can Revolutionize Your Business
Kevin Werbach, Dan Hunter
http://wdp.wharton.upenn.edu/books/for-the-win/
Gamification by Design: Implementing Game Mechanics in Web and Mobile Apps
http://shop.oreilly.com/product/0636920014614.do
Gabe Zichermann, Christopher Cunningham
GAME CHANGE
PHD, Craig Atkinson, Malcolm Devoy, Mark Holden, Frances Ralston-Good, Alasdair Douglas Reid, Chris Stephenson
http://www.arterymedia.co.uk/clients/phd/gamechangebook/
Reality is Broken: Why Games Make Us Better and How They Can Change the World
Jane McGonigal
http://www.amazon.com/Reality-Is-Broken-Better-Change/dp/0143120611
http://janemcgonigal.com/
The Difference Between Gamification And Game-Based Learning
http://www.teachthought.com/technology/difference-gamification-game-based-learning/
A 6-Step Process For Adding Gamification To Your Classroom
http://www.teachthought.com/video-games-2/6-step-process-for-adding-gamification-to-your-classroom/